Giant bicycles images upload uk general 2001 AC Page 4

- Pag. 4. -
3. Rear suspension.
When tuning suspension, always make one change at a time and write it down. This takes patience,
but allows you to understand how each change affects your ride. Use a familiar trail to make these
small adjustments. To understand the tuning range it may also help if you ride one extreme to the other
(low vs. spring tension or maximum vs. minimum rebound). Keeping a record lets you know what
changes you have tried that work and suggests what changes you might try. Ask a shop or local riders
what they have found works well. These resources are typically your best bet.
WARNING:
Improper adjustment of rear suspension shock can result in unstable conditions
or loss of control.
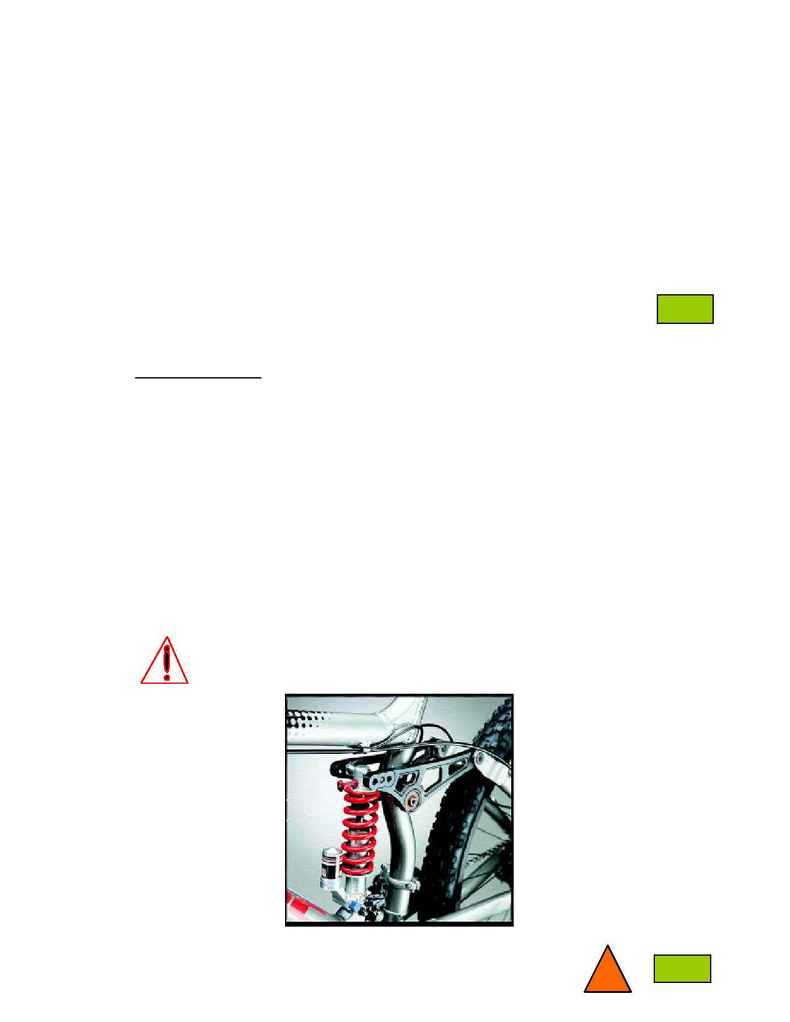
3-1. Adjusting travel.
To change the travel:
1. Using a 6 mm. Allen-key, remove the upper shock mounting bolt.
2. Pivot the shock backward or forward to align the eyelet with one of the three holes.
The forward most position is for 4½" travel.
The middle position is for 5¼" travel.
The position closest to the seat tube is for 6" travel.
3. The threads of fixing bolt should be cleaned and re-set using Loctite
TM
Primer (#7649) and
Loctite
TM
blue Removable Threadlock (#242) or similar material.
Install the bolt and tighten to the proper torque of 10-12 Nm.
4. After any adjustment is made to travel, you will need to readjust all spring pre-load settings
described in the following sections.
WARNING: Improper (dis-)assembly may result in damage to the bicycle or in an accident
which can cause serious injury or death.
Figure 2.
