39
(3) If your front fork
does not
have a secondary retention device go to
step 5.
(4) If your front fork has a
clip-on
type secondary retention device, disen-
gage it and go to step (5). If your front fork has an
integral
secondary
retention device, loosen the tension adjusting enough to allow removing the
wheel; then go to step (5).
(5) Raise the front wheel a few inches off the ground and tap the top of the
wheel with the palm of your hand to knock the wheel out of the front fork.
b. Installing a Quick Release Front Wheel
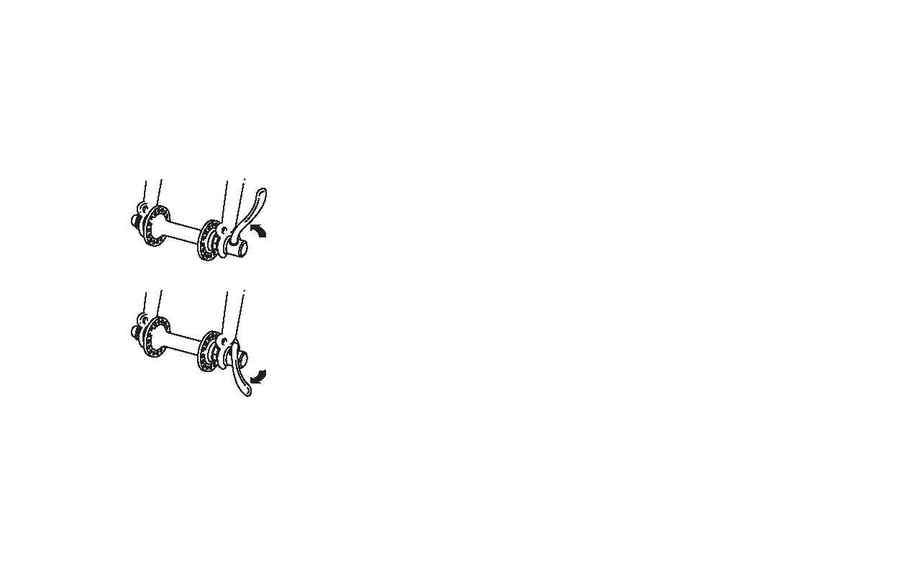
(1) Rotate the quick-release lever so that it curves away from the wheel
(fig. 11 & 13). This is the OPEN position.
(2) With the steering fork facing forward, insert the wheel between the fork
blades so that the axle seats firmly at the top of the slots which are at the
tips of the fork blades -- the fork dropouts. The quick-release lever should
be on the
left
side of the bicycle (fig. 12 & 13). If your bike has a clip-on
type secondary retention device, engage it.
(3) Holding the quick-release lever in the OPEN position with your right
hand, tighten the tension adjusting nut with your left hand until it is finger
tight against the fork dropout (fig. 11).
fig. 12 QR Closed Position
close
fig. 13 QR Open Position
open
