Cannondale Bicycle Corp. qc 140 inst Page 3

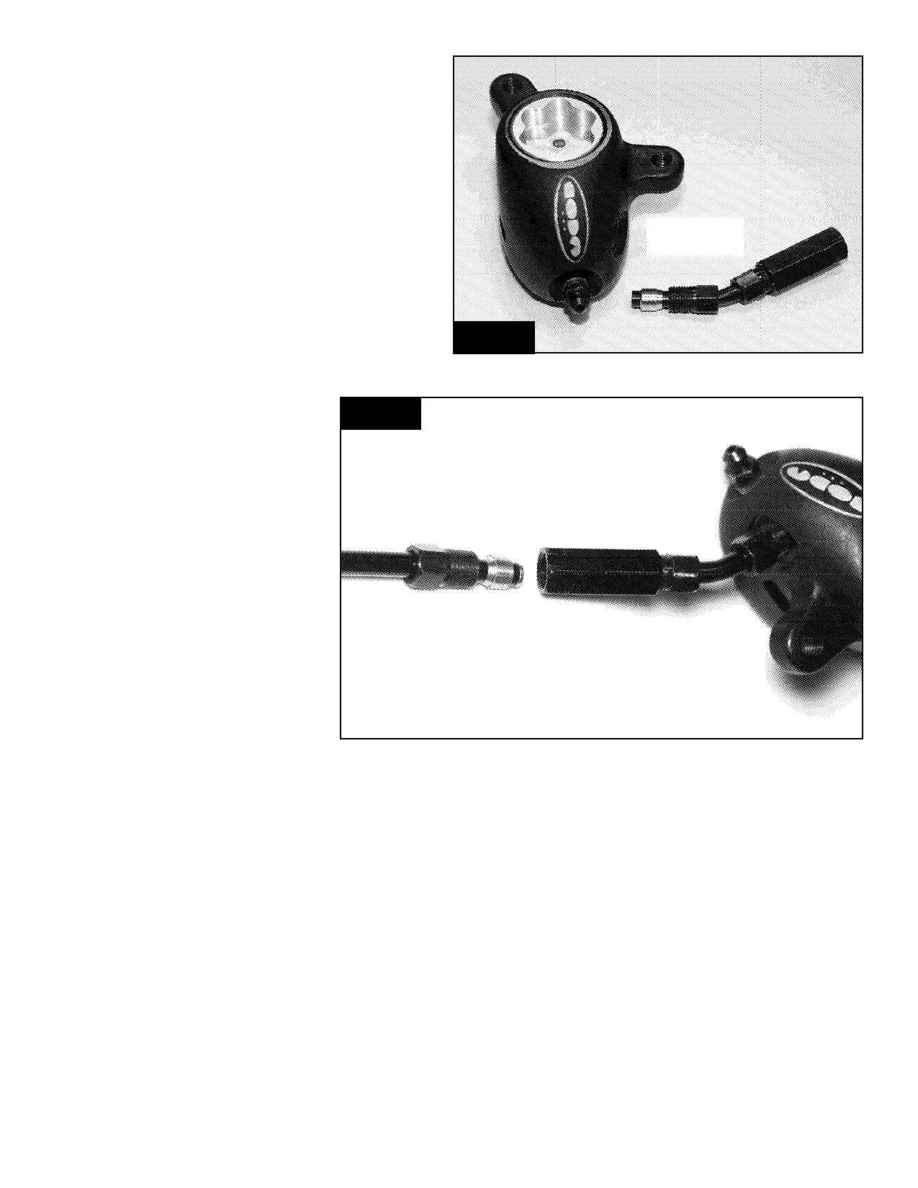
5. Slip another compression screw and compression
ferrule over the other end of the bent steel tubing, so
that the threads of the screw face towards the caliper,
and the sharp edge of the ferrule faces towards the
screw. See Fig. 4. Push the steel tubing all the way into
the caliper, and rotate the standoff so that the standoff
union is lined up with the direction that the brake tubing
comes towards the caliper. Then tighten the
compression screw to 69-78 In-Lbs (8-9 Nm).
6. Slide the compression screw and plastic screw
cover up the brake line well clear of where you'll be
cutting. Use a razor knife or hydraulic tubing cutter to
trim the end of the hydraulic line square and to the
desired length. When installing the
standoff, this means cutting off
approximately 6 cm of tubing. Do not
use a serrated knife or a pliers-type
cutter, as these will damage the end
of the brake line.
7. Slip a new compression ferrule
over the cut end of the tubing so that
0.5mm of tubing extends through the
ferrule. Orient the ferrule with the
sharp edge toward the compression
screw (away from the caliper). Then
press the barbed end of the new
hydraulic line insert into the end of
the tubing. There should be no more
than 1.6mm between the end of the
tubing insert and the compression
ferrule. See Fig. 5.
8. Press the end of the tubing into the standoff union until the line insert makes contact with the inside of the standoff
union, checking to make sure that the brake line is clear of tires and wheels or any other possible snags. Slide the
compression screw down to the standoff and screw it in, being careful not to cross thread the screw. Hold the standoff
union with a 10mm wrench and tighten the compression screw to 69-78 In-Lbs. (8-9 Nm). The tubing should run along
the back of the fork leg or the chainstay or seatstay. If necessary, loosen the compression screw at the caliper and rotate
the standoff to achieve optimal tubing direction. The standoff should be located so that the tubing doesn't interefere with
the Lefty fork boot, the disc brake rotor, or the wheel.
9. Tug gently on the brake line to make sure the fittings are fully threaded in.
10. Before reinstalling the wheels or brake pads, or riding the bike, you must bleed the brake system. See the CODA
Disc Brake Owner's Manual for bleed instructions.
Fig.4
Fig.4
Fig.5
Fig.5
69-78 In-Lbs
(8-9 Nm)
69-78 In-Lbs
(8-9 Nm)
