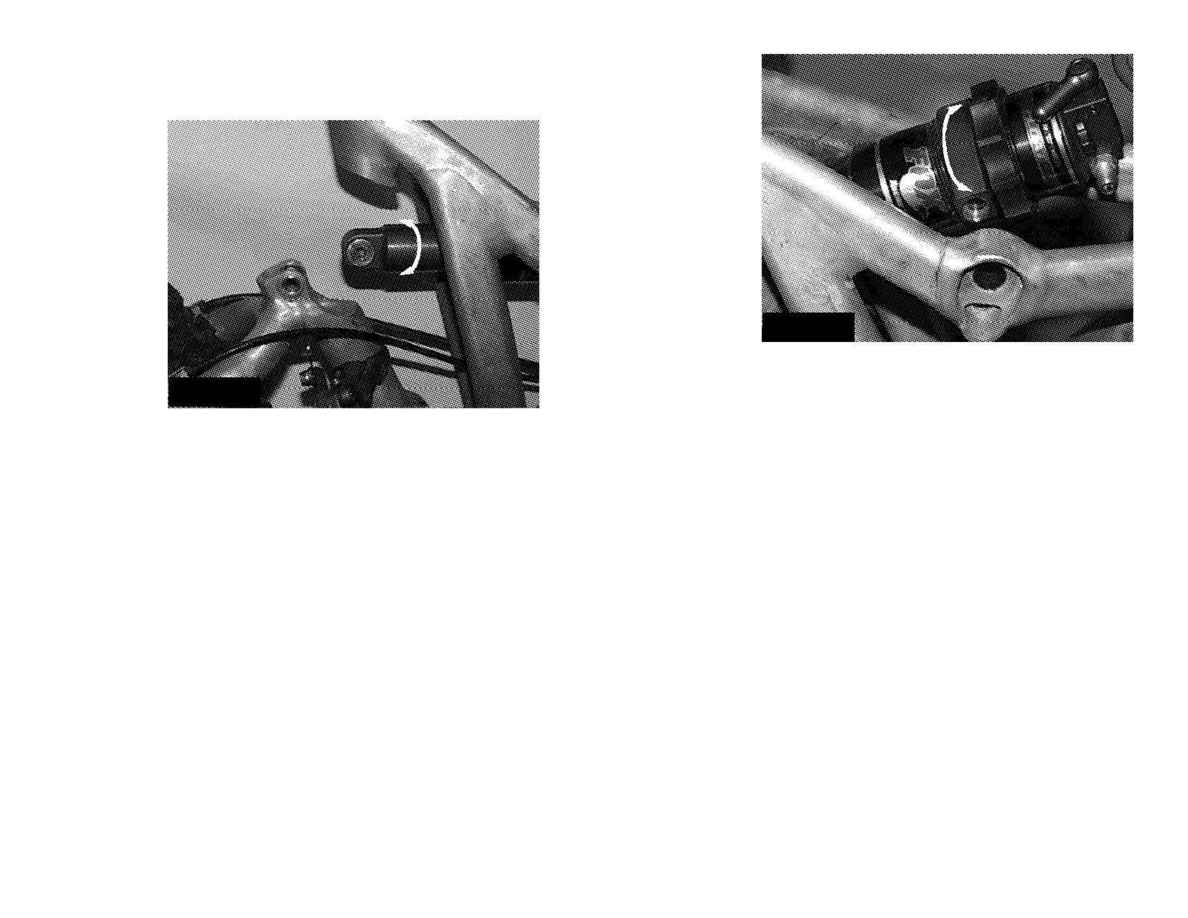
Air-sprung
shocks:
1. Loosen the
lockring on the
shock body,
located just in
front of the
shock-mounting
collar, by turning
it counter-
clockwise (when
viewed from the
front of the bike)
using a Park red
pin spanner tool. If your bike is equipped with Cannondale Remote Rear
Lockout, you will need to loosen the cable set screw, disconnect the
lockout cable from the lockout cam, and remove the cable and housing
from the cable stop bracket on the shock.
2. Unscrew and remove the two aluminum bolts that attach the shock-
mounting collar to the front triangle (see Fig. 3). Be sure that the hex
wrench is fully engaged within each bolt head or the wrench may slip and
strip out the bolt. Once the bolts are removed, allow the swingarm to
rotate down and the shock to pivot down on the rear shock-mounting bolt.
3. Spin the mounting collar clockwise on the shock body (when viewed
from the front of the bike) to decrease angles/lower the bottom bracket,
spin it counter-clockwise to increase angles/raise the bottom bracket.
4. After threading the shock-mounting collar to the desired position on
the shock body, align the bolt holes on the mounting collar with those on
the front triangle. Make sure to fully engage the hex wrench in each
aluminum shock-mounting bolt before reinstalling, and torque them to
150 In-Lbs (17Nm). After the first three geometry adjustments, one drop
of Loctite 242 (blue) should be applied to the threads of each of these
shock-mounting bolts before their reinstallation.
NOTE: This procedure requires disconnecting the rear shock from either
the swingarm or from the front triangle, and then rotating the shock within
the shock mounting collar or vice-versa. Either operation is easier when
the bike's weight
is off it's wheels,
such as when
the bike is
hanging by the
seatpost from a
repair stand.
Coil-sprung
shocks:
1. Loosen the
lockring on the
shock body,
located just in
front of the shock-mounting collar, by turning it counter-clockwise (when
viewed from the front of the bike) using a Park red pin spanner tool.
2. Unscrew and remove the rear shock-mounting bolt which connects the
rear of the shock to the swingarm (see Fig. 2). Once the bolt is removed,
allow the swingarm to rotate down so that it no longer contacts the shock.
3. Spin the shock body clockwise within the mounting collar (when
viewed from the front of the bike) to increase angles/raise the bottom
bracket, spin it counter-clockwise to decrease angles/lower the bottom
bracket.
4. After threading the shock body to the desired position within the
mounting collar, align the bolt holes at the rear of the shock with those on
the swingarm and reinstall the shock-mounting bolt. Tighten the shock-
mounting bolt to 106 In-Lbs (12 Nm).
5. Secure the shock in place using a Park red pin spanner by tightening
the lock ring against the shock-mounting collar. Tighten the lock ring
firmly to prevent the shock from moving within the collar's threads.
Fig. 2
Fig. 2
5
Fig.
Fig.
3
3
5
12
13
