E.4
E.5
CHAPTER ONE
Guide to Safe Child Carrier Use
For proper and safe adjustment of a lever-type
quick-release, read and follow these instructions
carefully.
To adjust the tension of a lever-type quick-
release
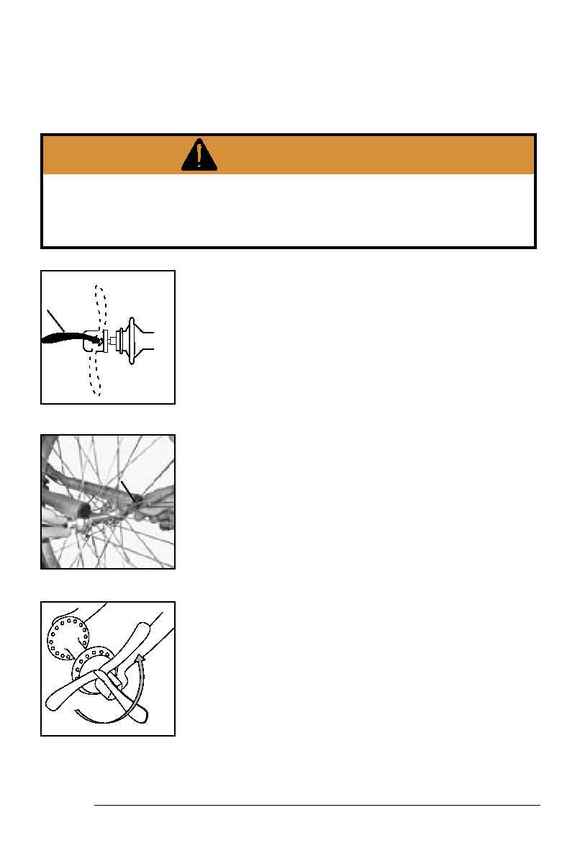
1. Move the quick-release lever to the
OPEN
position (Figure 1.7) and set the wheel so it
firmly touches the inside of the fork ends.
2. With the lever about halfway between the
OPEN
position and the
CLOSED
position, tighten the
quick-release adjusting nut (Figure 1.8) until
finger-tight.
3. Place the lever in the palm of your hand and
throw the lever as shown in Figure 1.9 to the
CLOSED
position (Figure 1.12). At the half-
closed position of the lever, there should be some
resistance.
· Do not tighten the quick-release wheel
retention mechanism by turning the lever
like a wing nut (Figure 1.10); it will not result
in sufficient force to hold the wheel in place.
5. If the lever is moved to the
CLOSED
position
with little or no resistance, clamping strength
is insufficient. Return the lever to the
OPEN
position, tighten the quick-release adjusting nut
further and close the lever, and again test for
resistance. For further information on correct
adjustment of the quick-release tension, read
Figure 1.11.
Operating lever-type quick-release device (Transit Deluxe)
Figure 1.9- Proper lever throw
Figure 1.8- Tighten nut
Quick-release
adjusting nut
Figure 1.7- Lever positions
Lever
WARNING
A quick-release that is not properly adjusted and closed may
allow the wheel to be loose or come off unexpectedly, causing
you to lose control and fall. Make sure the quick-release is
adjusted and closed properly before using the child carrier.
Before Every Use: Check the Child Carrier
