E.41
CHAPTER FOUR
Inspection, Adjustment & Lubrication
To convert a trailer to a stroller
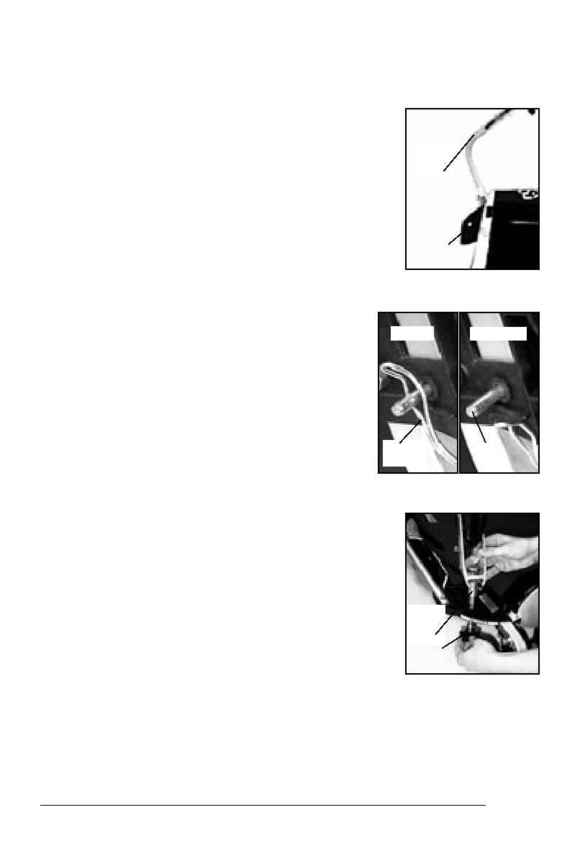
1. Unsnap the locking clip (Figure 4.39) from the
locking pin of the trailer tongue attachment
bracket (Figure 4.38).
2. Remove the clevis pin.
3. Slide out the trailer tongue (Figure 4.38) from
the attachment bracket.
4. Replace the locking pin and locking clip.
5. Slide a stroller wheel pivot through the
vertical hole in one of the attachment brackets
(Figure 4.40).
These steps can also be done with the stroller fully
assembled and in an upright position.
6. Thread a 5-star plastic nuts onto the
stroller wheel pivot and tighten until finger
tight (Figure 4.40).
7. Repeat for the second stroller wheel.
8. Install the leash, or remove the wrist leash
from the mesh pocket.
9. Install the handlebar as shown on page 18.
To convert a stroller to a trailer
1. Place the wrist leash in the mesh pocket.
2. Loosen a 5-star plastic nuts from the
stroller wheel pivot and remove.
3. Slide out the stroller wheel pivot from the
attachment bracket.
4. Repeat for the second stroller wheel.
5. Remove the left locking clip from the locking
pin, and remove the locking pin.
6. Slide the trailer tongue into the left attachment
bracket.
The curve of the tongue should look like Figure 4.38. The
hole in the tongue must line up with the hole in the attach-
ment bracket, and the tongue should be about flush with
the end of the bracket. Also note the Warning on the trailer
tongue regarding correct insertion.
7. Insert the locking pin through both the trailer
tongue and attachment bracket.
8. Close the locking clip over the locking pin (Figure 4.38).
9. Attach the bicycle trailer hitch to the bike as shown on
pages 19-22.
Figure 4.40- Installing a stroller
wheel fork
5 star
nut
Stroller
wheel
pivot
Figure 4.38- Trailer tongue
attachment bracket
Attachment
bracket
Trailer
tongue
Figure 4.39- Locking clip and clevis pin
Locked
Unlocked
Locking
pin
Locking
clip
CHANGING CHILD CARRIER MODES
(optional equipment may be required)
