E.30
E.31
CHAPTER FOUR
Inspection, Adjustment & Lubrication
CC Ryder, Transit, Transit Deluxe
To fold the CC Ryder, Transit, Transit Deluxe
If the optional stroller handlebar is attached, you can
remove the handlebar if desired (refer to the Handlebar
section on pages 25-26).
1. Remove the front wheel if the carrier is in
jogger mode.
If you need instructions to remove a wheel, see
Check
all wheels of the child carrier before every
ride
on pages 3-5.
In stroller mode, you can remove both front wheels (see
Changing Child Carrier Modes
on pages 41-42.
2. Remove the rear wheels.
4. Remove the locking pins by pulling towards the
center of the child carrier.
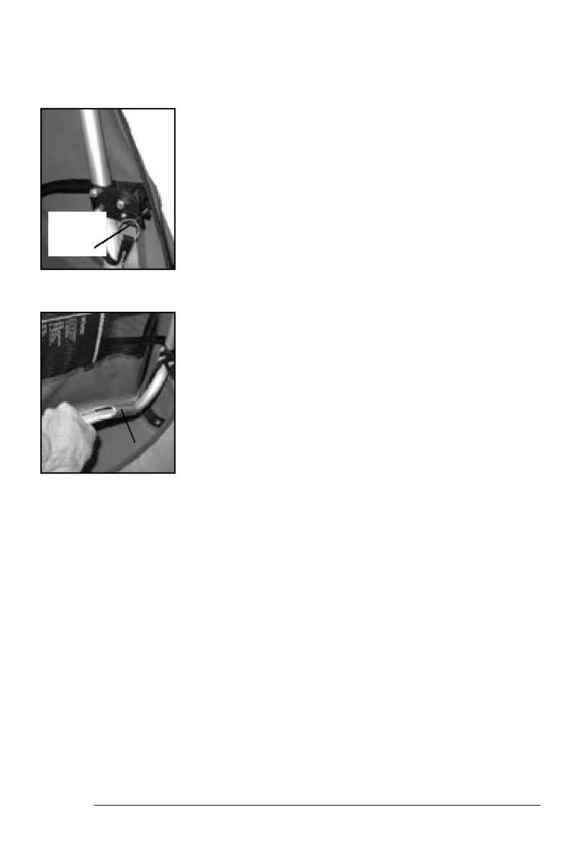
Both locking pins are found inside the back of the child
carrier (Figure 4.18).
5. Push the folding tension bar (Figure 4.19)
forward to fold the child carrier canopy.
If desired, the trailer tongue, or wheel arms which hold
the front wheel in jogger mode, may also be removed. See
Changing Child Carrier Modes
on pages 41-42.
To unfold the CC Ryder, Transit, Transit Deluxe
1. Attach the front wheel or trailer tongue.
Figure 4.19- Tension bar
Tension bar
For jogger mode, attach the wheel arms and front wheel. For
stroller mode, insert the stroller wheels. For trailer mode, insert
the trailer tongue.
2. Attach both rear wheels.
3. Gently unfold the child carrier back.
Be careful not to catch or pinch any of the child carrier's fabric parts.
4. Pull the tension bar (Figure 4.19) back to open the folding
mechanism.
Be careful not to pinch your fingers between the tension bars and back of
the child carrier as you pull the tension bars into their open position.
5. Install both locking pins (Figure 4.18) and make sure they
are fully inserted.
6. Check for correct assembly by attempting to move the
tension bar forward.
With the pins properly inserted, you can not fold the tension bar to its
folded position.
7. Install the handlebar if needed.
Folding the Child Carrier
Figure 4.18- Locking pin
Locking
pin (right
side)
