E.22
E.23
CHAPTER THREE
Periodic Maintenance
Connecting the trailer to the bicycle: chainstay mount
This type of trailer hitch does not require replace-
ment or removal of any parts.
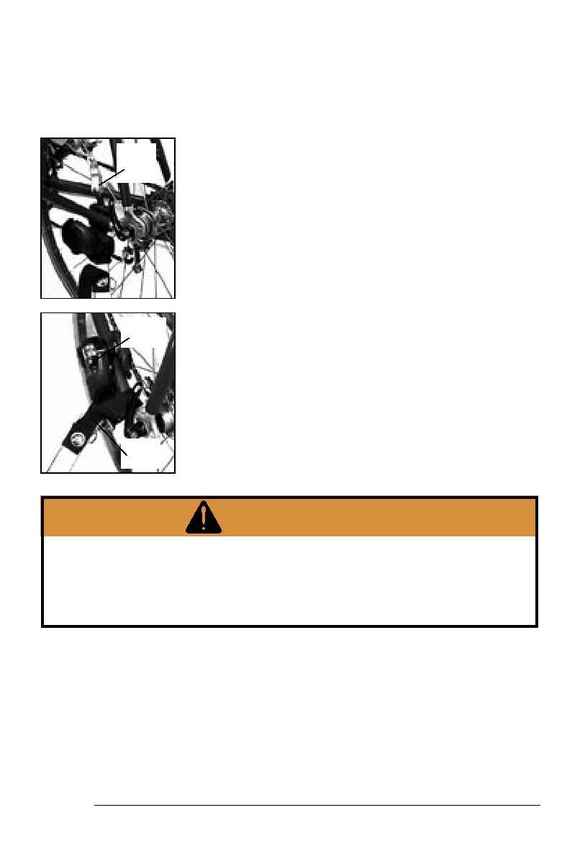
Figure 2.9- Closed hitch clamp
Backup
strap
Locking
button
Hitch
quick-
release
Figure 2.8- Open hitch clamp
WARNING
Never pull a bicycle trailer without a properly attached hitch
with the backup strap connected. If the trailer becomes
loose, it could tip or crash resulting in personal injury.
Connect the trailer carefully by following these instructions,
or consult your Trek dealer.
To remove the hitch from the bicycle frame
1. Remove the backup strap.
2. Press and hold the locking button on the quick-release
(Figure 2.9) while opening the quick-release lever.
3. Pivot the quick-release lever out of its detente in the hitch
clamp body.
4. Open the hitch clamp.
5. Remove the hitch clamp from the bicycle frame.
To attach the hitch to the bicycle frame
1. Place the trailer hitch up around the left
chainstay of the bicycle (Figure 2.8).
Make sure the bicycle wheel quick-release will not be in
contact with the trailer hitch.
2. Adjust and close the trailer hitch quick-release
(Figure 2.8).
The trailer hitch quick-release is basically identical in
function to the wheel quick-release with the addition of
a locking button on the hitch quick-release lever (Figure
2.9). This button must be depressed before the hitch
quick-release can be opened. Read
Operating lever-
type quick-release device
on pages 4-5 for further
information on proper adjustment and usage of a quick-
release lever.
3. Make sure the hitch cannot rotate on the
chainstay.
4. Connect the backup strap.
Wrap the strap around the bicycle seat stay or chain stay
and clipping to the D-ring on the trailer tongue.
Connecting the Trailer to the Lead Bicycle
