2 Orion
Aliso Viejo, CA 92656-4200
Pro Racing Edition TNX
Congratulations on purchasing the Tamiya Pro Racing Edition of the TNX. Tamiya and Pro-Line Racing have worked together to bring you
the best possible small block nitro monster truck with the best aftermarket accessories on the market.
You will notice that you have four major items in your package:
1.
A fully factory assembled TNX.
2.
Pro-Line Power Stroke complete shock set.
3.
Pro-Line Velocity Dish wheel set.
4.
Pro-Line Maxx-Bow-Tie tires and inserts.
5.
Tamiya's new blue anodized oversized machined engine heat sink head.
6.
Extra hardware to properly mount the Power Stroke shocks to the TNX.
The instructions on how to prepare your new Pro -Line shocks are included within the Power Stroke
package. In order to properly mount these shocks to your TNX please refer to the pictures and
descriptions below.
After preparing your Power Stroke shocks (This consists of adding oil) you will need to remove the
stock shocks from the TNX. All you will need is a standard Phillips screwdriver (not included) and a
5mm hex wrench (included) to do this.
1.
First remove the screw and nut from the top of the original shocks on the entire truck.
2.
Save the 3mm nut and 3x48mm screws. You'll need these later.
3.
Unscrew the bottom screw of the bottom of the shock ends. These can be discarded if you
don't plan to ever use the original shocks again. You'll be using the supplied 3mm machine
screws in their place to secure the Pro-Line Powerstroke shock set to the suspension.
4.
Remove all original wheels and tires. This will make the next few steps easier.
5.
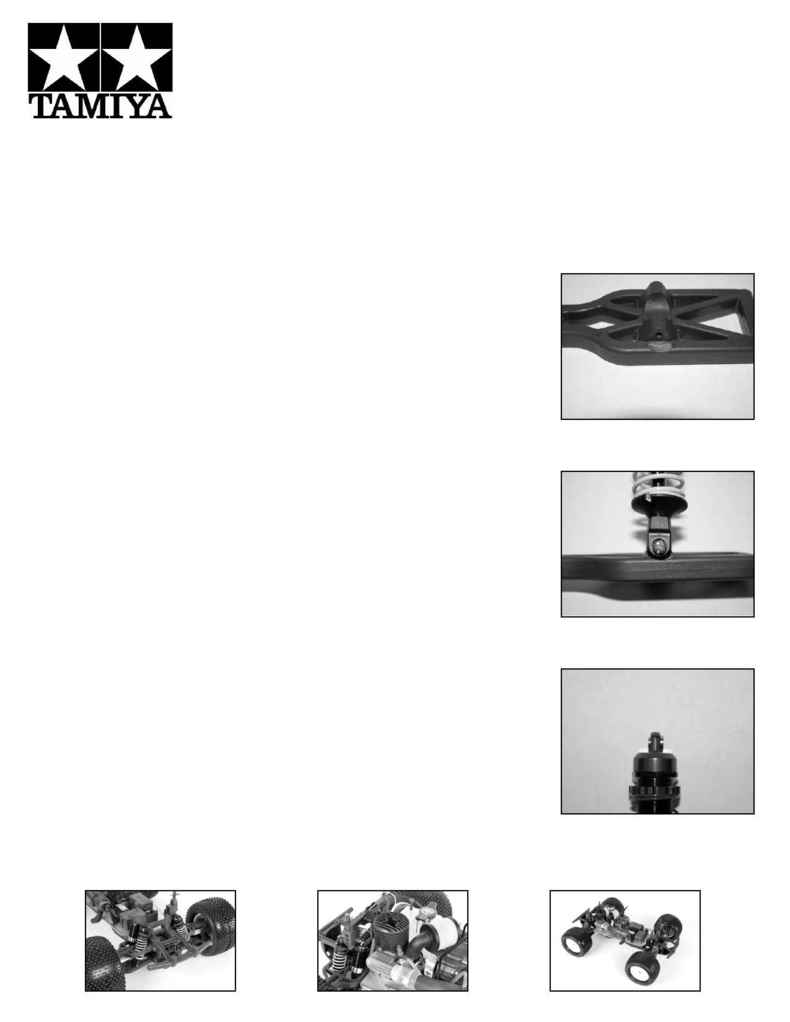
Using a Dremel, for the quickest results, take a sanding drum and carve down a 1/32 moon
right below the bottom shock mount hole on all four suspension arms. See picture Repeat
this step seven times as you'll need to do this for each lower shock location. This entire
process is done in order for the Power Stroke shocks to have the best possible movement.
If you do not own a Dremel, tool this step can be done with a small utility or hobby knife.
Since not much material is needed to be removed, not much effort is required.
6.
Using the supplied 3x15mm machine screws, included in the hardware kit, fasten the
bottom of the Power Stroke shock to the lower suspension arm. See picture below. Repeat
seven times.
7.
Using the 3mm nut and 3x48mm machine screw from before, fasten the top of the Power
Stroke shocks to the TNX shock tower. NOTE: This time you'll need to use the supplied
collar (included in the hardware kit) on top of the Power Stroke shock in order to get the
shock to fit and move properly. See picture below.
8.
Mount your new Bow -Tie tires to your Velocity wheels. Glue tires onto wheels using CA
(super glue). This will ensure the best possible performance.
9.
Secure all for wheels and tires onto your TNX.
10.
To secure the included blue anodized heat sink head all that is needed is a 2mm Allen
wrench. Unscrew the four screws located at the top. Replace stock head with new
oversized blue head and make sure to use the copper shim spacer from the original head.
This spacer/shim is used to insure that the proper compression ratio is achieved with the
engine. Don't forget this shim! Also, note the direction of the vertical fins in the photo
below.
11.
Everything is now completely installed. Break-in the truck as per the DVD and instructions.
You're all set! For further tips and tricks regarding the TNX please visit us on the web at
www.tamiyausa.com
Step 5
Step 6
Step 7
