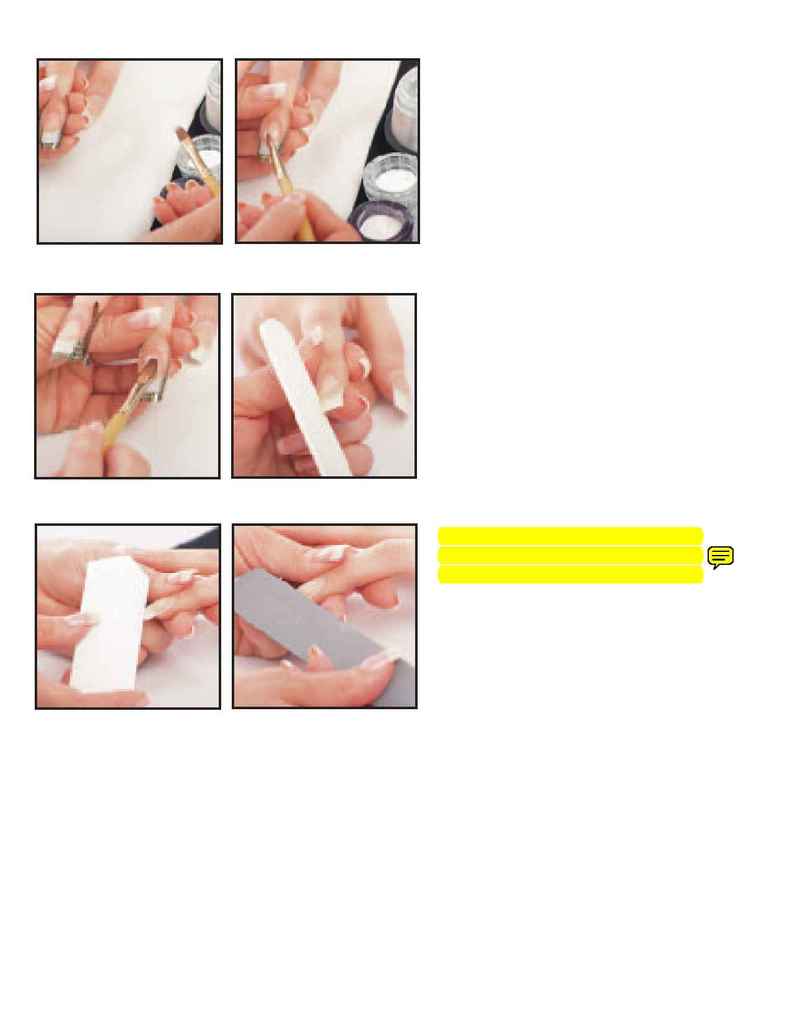
10-11.
Create a second acrylic bead,
medium sized, by dipping your brush first
into liquid than into the pink acrylic
powder. Place the second bead in the
middle section (zone 2). Pat, press and
stroke the acrylic into place, gently
overlapping zone 1.
12.
Place the smallest bead just
below the cuticle (zone 3), just below the
cuticle area. Pat, press and stroke the
acrylic down to the base of the nail.
Move out to the sides and past the point
where the free edge meets the nail form,
overlapping the acrylic material previously
applied. Apply a fourth bead for addi-
tional strength across the stress area
where the free edge meets the nail bed, if
needed.
Filing
/
Buffing
13.
Remove the nail form when acrylic
is dry. File to create a smooth finish.
Remove the nail dust and filings.
Periodically break contact to reduce heat,
check for smoothness and feel the tempera-
ture of the nail. Continue with each nail.
14-15.
Buff with a buffer block and a 3-
way buffer to create shine and a natural
looking blend between the tip and the nat-
ural nail. Buff with the black side, then
white and finally the gray side. Wash
hands to remove nail dust. Sculptured
nails can be left natural or polished.
Sculptured Nails Completion
· Offer a rebook visit to your client
· Recommend retail products for your client
· Discard non-reusable materials, replace used towels with fresh towels and arrange all
products and implements in proper order
· Disinfect your sculptured nail service implements and equipment
· Wash your hands with liquid antibacterial soap
596
SALON FUNDAMENTALS
Filing/Buffing
13
14
15
12
10
11
