Suzuki st 7 manual Page 9

9
10
PANEL CONTROLS
7
8
9
7.
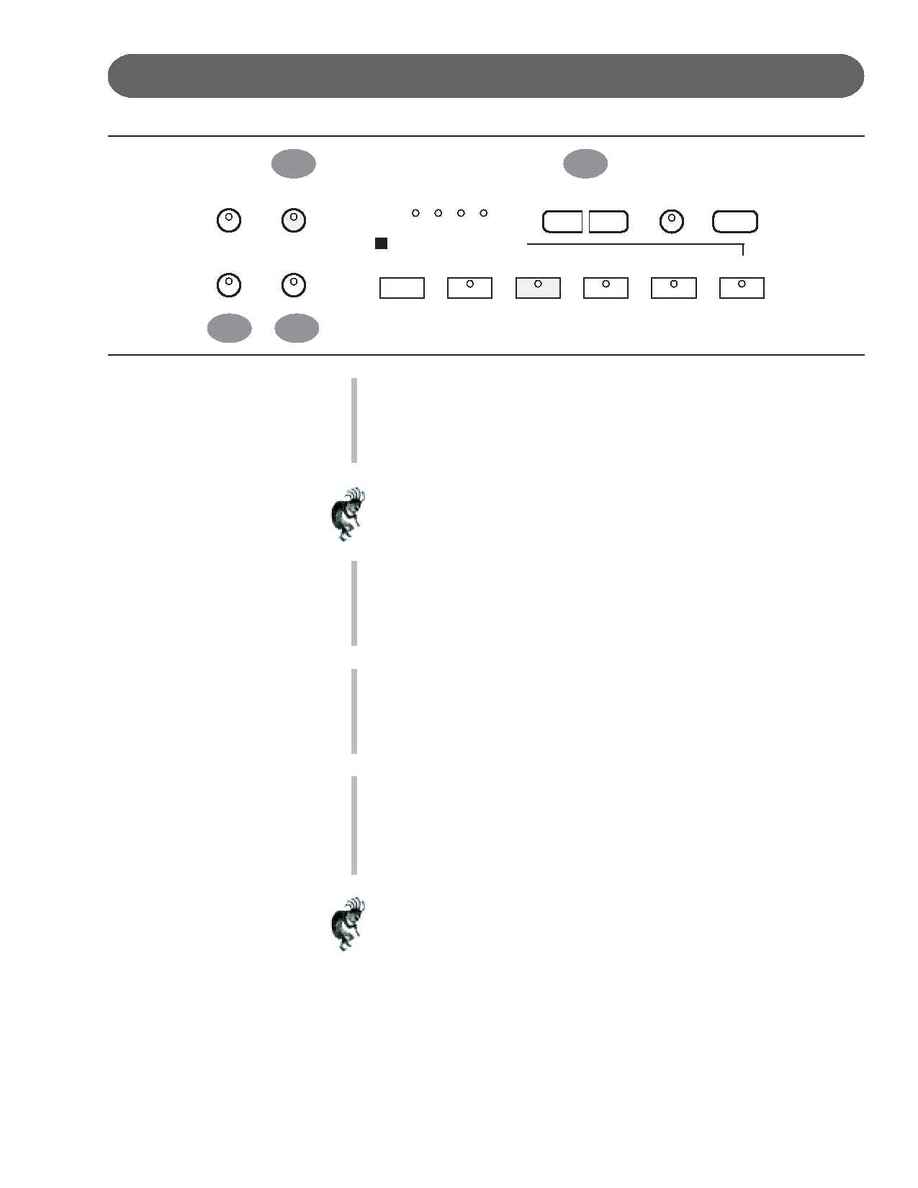
DEMO (DEMONSTRATION SONGS) - Press the DEMO button.
The first demo song will begin to play instantly.
This piano has thirteen different demonstration songs designed to
showcase the instrument's capabilities.
Please see the "Demo" section of this manual for more information.
Note: There are also over 50 songs built into this piano to be used as
reference for the Lesson exercises that can also be enjoyed.
Please see the Song section of this manual for more information.
8.
MIDI - MIDI is an acronym for Musical Instrument Digital Interface. The
MIDI features in this piano are capable of communicating with and/or
controlling other MIDI Musical Instruments or MIDI devices such as
computers etc... Please see the MIDI section of this manual for more
information.
9.
SET UP - The SET UP button is used to activate the set up menu
screen.
The majority of this pianos features and functions can be accessed and
adjusted from the Set Up screen menu selections.
Please see the "Setup" section of this manual for more information.
10.
TEMPO - Press one of the TEMPO buttons, the current tempo value will
appear on the display.
You can use the TEMPO +, TEMPO buttons, or the +/ VALUE
buttons to increase or decrease the tempo of Orchestrated
Accompaniment Patterns and other Recorded features.
The Tempo value range is from 40 to 250 bpm (beats per minute).
Note: Press the TEMPO or + TEMPO buttons or the +/ VALUE
buttons simultaneously to recall the default tempo setting for the se-
lected rhythm style.
AlsoNote: LED Rhythm light bar display - There is a four-dot beat
indicator to the left of the tempo buttons. It indicates the Tempo and
beat for the accompaniment that is playing. The lights flash simulta-
neously on the first beat of each measure, then the indicators flash
individually in sequence on the remaining beats.
METRONOME
DEMO
MIDI
SETUP
RHYTHM CONTROL
FADE
FILL TO VAR
FILL-IN
START/STOP
INTRO/ENDING
TEMPO +
SYNC
ONE TOUCH ACCOMP
