AD76PLPL.DOC
p. 12 of 14
b)
You should now have a series of yellow boxes in Model Space representing the locations of your
laid out sheets.
60. Generate the sheet series
a)
[Sheet Mgr]
!
[Plan/Profile Sheets]
!
[Generate Sheets - Series]
.
61. In the Set Current Sheet Series Name dialog box, select
p2south
from the Existing Series area and
select
OK
.
a)
Your series sheets will now be generated. The last generated sheet will be displayed on your
screen when the generation has been completed.
62. The next step is to eliminate the annoying Profile Viewport and Frame from each sheet.
a) Use
the
[Sheet Mgr]
!
[Plan/Profile Sheets]
!
[Load Sheet - Individual]
command.
i)
At the Set Current Sheet Series Name dialog box, select
p2south
and select
OK
.
a)
At the Load Series Sheet dialog box, select
s001.dwg
and select
OK
.
b)
Once the sheet (
s001.dwg
in this case) is loaded, type in `
erase
' at the command line.
i)
At the Select Objects prompt, do a `crossing' across the Profile View Frame & Viewport.
ii) Press
<return>
.
c)
Type in `
regenall
' at the command line.
63. Save the sheet by using
[Sheet Mgr]
!
[Plan/Profile Sheets]
!
[Save Sheet -
Individual]
.
a)
In the Set Current Sheet Series Name dialog box, select
p2south
and select
OK
.
i)
In the Save Series Sheet dialog box, select
s001.dwg
and select
OK
.
a)
An alert dialog box will display asking if you wish to overwrite the current file.
Select
Yes
.
64. Repeat these steps (63-64) for each sheet within that series.
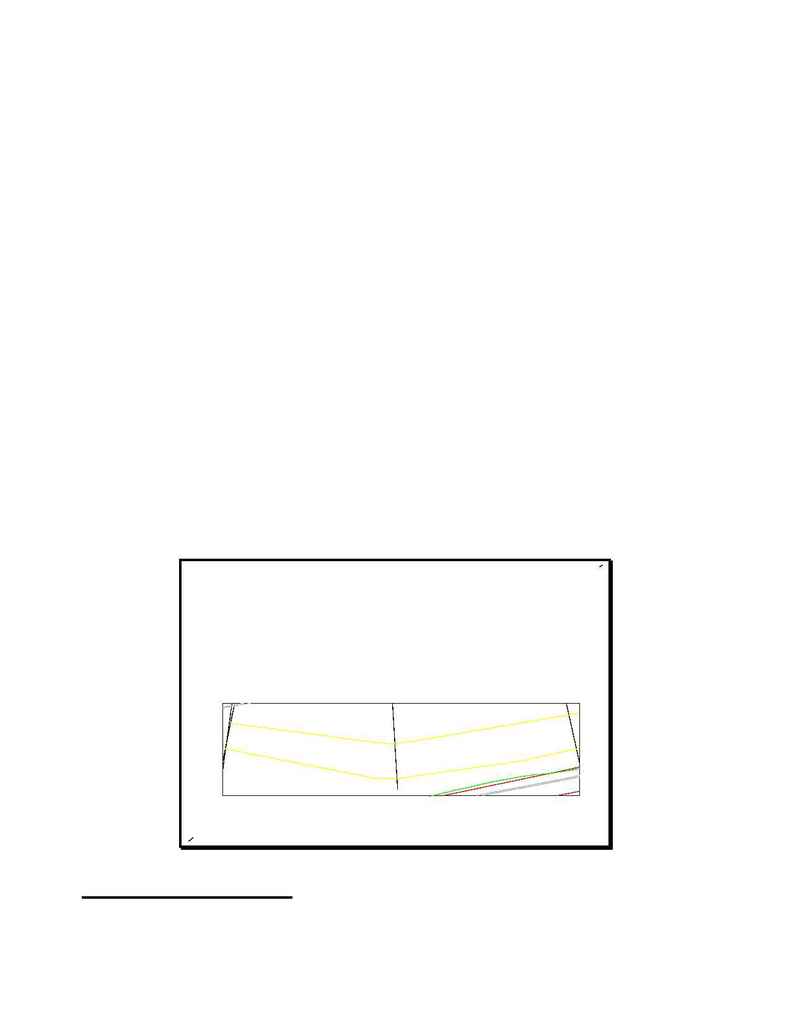
65. An example of an edited series sheet (
s001.dwg
) is shown in
Figure IX
.
Figure IX
PLOTTING THE SHEETS
66. Plot out your sheets. Either use the batch plotting routine (see deshtplt.doc - Batch Plotting in Sheet
Manager for more information) or plot out individually.
