AD76PLPL.DOC
p. 11 of 14
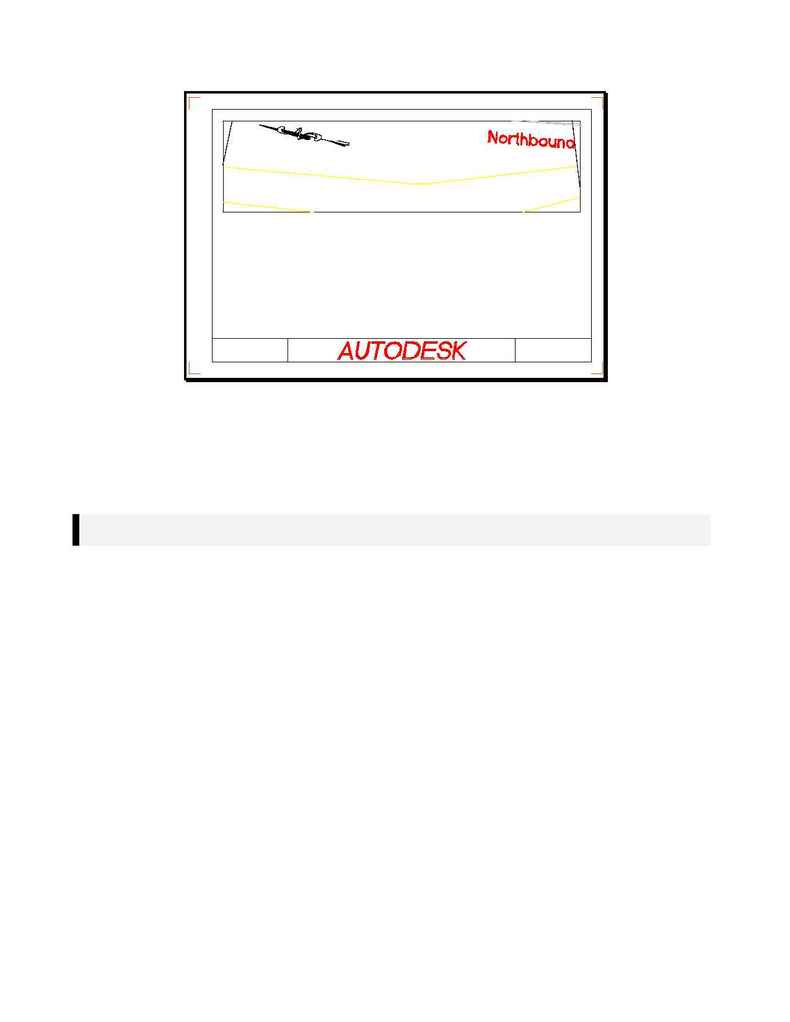
Figure VIII
53. The next step is to proceed with generating and editing your Southbound series.
54. Set the second alignment current.
a) Use
the
[Align]
!
[Select Alignment]
command.
i)
When the Select Alignment prompt appears, press
<Enter>
to select from the list. We
will select the Southbound alignment now.
Note: If you are only using one alignment, you will select that one alignment here as was done in step
41.
55. Set the Profile current.
a) Use
the
[Sheet Mgr]
!
[Go To Model Space]
command.
b)
Then, use the
[Profile]
!
[Set Current Profile]
command and select a point within
the Southbound profile.
56. Switch to Paper Space by using
[Sheet Mgr]
!
[Go to Paper Space]
.
57. Set the Southbound Sheet (Plan2) current.
a) Go
to
[Sheet Mgr]
!
[Set Current Sheet Style]
and select
PLAN2.DWG
from the
c:\sdskdata\sheets\sdsk_I
directory.
58. Load the sheet style using
[Sheet Mgr]
!
[Sheet Styles]
!
[Load Sheet Style]
.
a) Select
PLAN2.DWG
from the
c:\sdskdata\sheets\sdsk_I directory
.
59. Layout the sheet series.
a)
[Sheet Mgr]
!
[Plan/Profile Sheets]
!
[Layout Sheet Series]
.
i)
In the Set Current Sheet Series Name dialog box, enter `
p2south
' in the Current Series
field. This will help remind us that we used Sheet #2 (called Plan2) for the South
alignment layout.
a)
In the Edit Sheet Series Data dialog box, select the
Set Style
radio button.
b) Select
PLAN2.DWG
from the
c:\sdskdata\sheets\sdsk_I
directory and
select
OK
.
ii)
Add in your desired starting sheet number (we will use 1) and your overlap distance (we
will use 100 for 100' of overlap).
iii) Select
OK
to layout the sheet series.
