29
RECORD
RECORDING (continued)
4.
Record on Track 1, 2 or 3
If the Track LED 1, Track LED 2 or Track LED 3 is selected and blinking the
recording will begin as soon as you play the keyboard.
Note: the contents in a track will be erased as soon you start to record on that
selected track.
It will be replaced by the new note data that you are recording.
5.
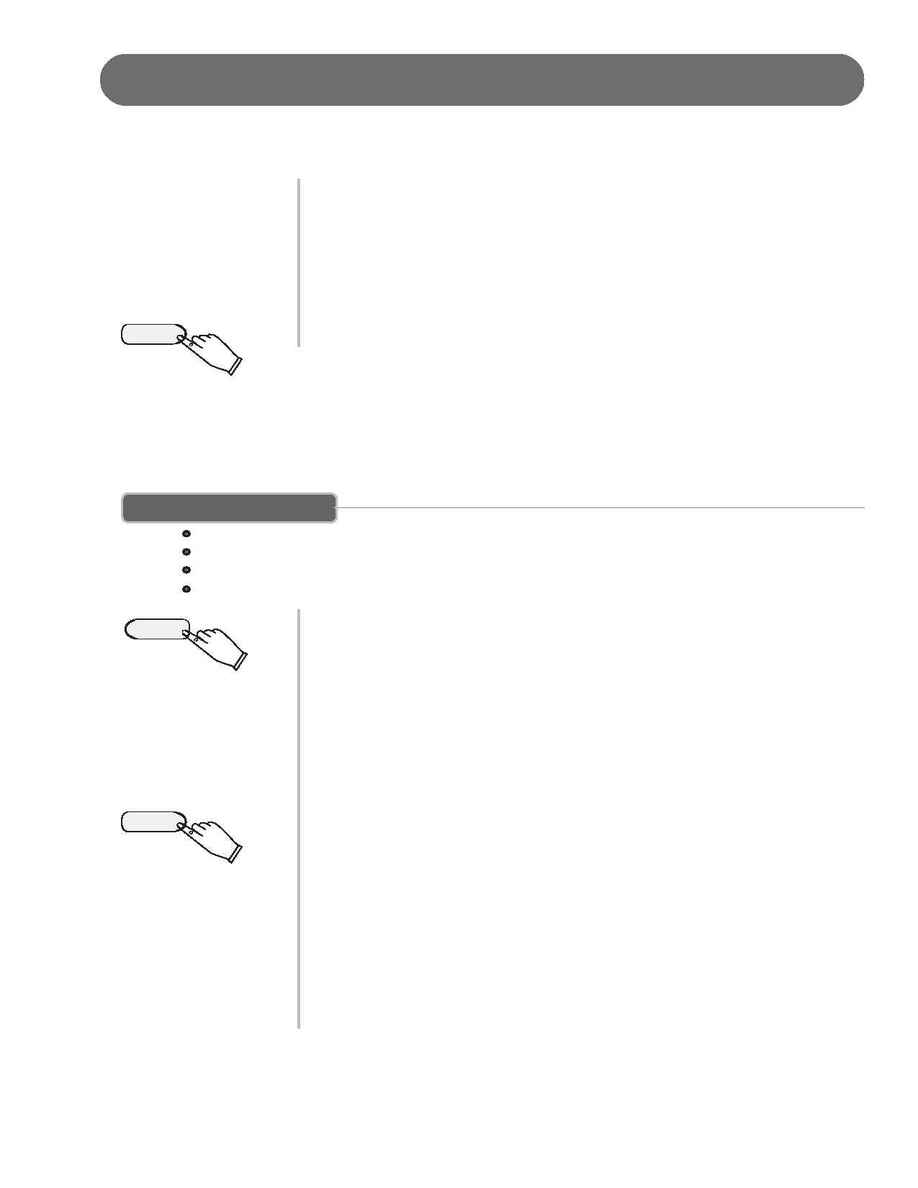
Stop Recording - Press the PLAY/STOP button or the REC button to stop
recording.
NOTE: When the record memory is full, recording will stop automatically and
"End" will appear on the display screen.
Expressed in terms of notes, the total number of notes which can be recorded in
all three Tracks is about 4500 (The number of notes may be reduced if opera-
tions such as depressing the pedal are carried out.)
PLAYBACK
TO LISTEN TO THE RECORDED USER SONG
PLAYBACK - To listen to the passage that you just recorded press the PLAY/STOP Button.
1.
Press the USER SONG button to select the song you want to play back. Each time
you press the USER SONG button the LED above the Button will indicate which song
is selected, and the LCD display will show the User Song number.
2.
After you have selected your desired User Song, the Track LED indicators will be
engaged.
If you do not wish to hear any of the 3 Tracks, press the corresponding TRACK
button to turn that track off.
It's LED indicator will turn off.
3.
Press the PLAY/STOP button to hear the recorded track(s).
The LED dots of the beat indicator will flash in consecutive order.
You can change the tempo of your Recorded Track by pressing the +TEMPO
buttons while the recording is being played back.
You may also accompany the recorded playback on the keyboard while the record-
ing is playing back.
4.
Press the PLAY/STOP button to stop the playback.
Playback will stop automatically when the recording reaches its end.
5.
Press the USER SONG button to exit the User Song Mode. The User Song indicator
LED's will turn off after USER SONG 4.
PLAY/STOP
1
2
3
4
USER SONG
PLAY/STOP
