IF YOU HAVE ANY QUESTIONS OR PROBLEMS,
DO NOT CALL OR RETURN PRODUCT TO THE STORE
Visit
www.suzukipianos.com/hp-275e
OR CALL THIS TOLL FREE HELP LINE
STOP!
DO NOT ASSEMBLE YOUR PIANO
BEFORE READING THIS GUIDE!
Questions?
Visit
www.suzukipianos.com/hp-275e
Or Call
1·800
·
854
·
1594
E
NJOY
Y
OUR
N
EW
S
UZUKI
P
IANO
!
1
·
8OO
·
854
·
1594
Easy
Assembly
Guide
©
2005
Suzuki
Corporation
Deluxe Ensemble Digital Piano
HP-275e
The Name You Know
The Name You Know
B.
After you have placed your piano in your home,
now remove all the clear protective film and the
fiberglass tape holding the fallboard in place.
4. A
TTACHING
THE
P
IANO
TO
THE
S
TAND
(Continued)
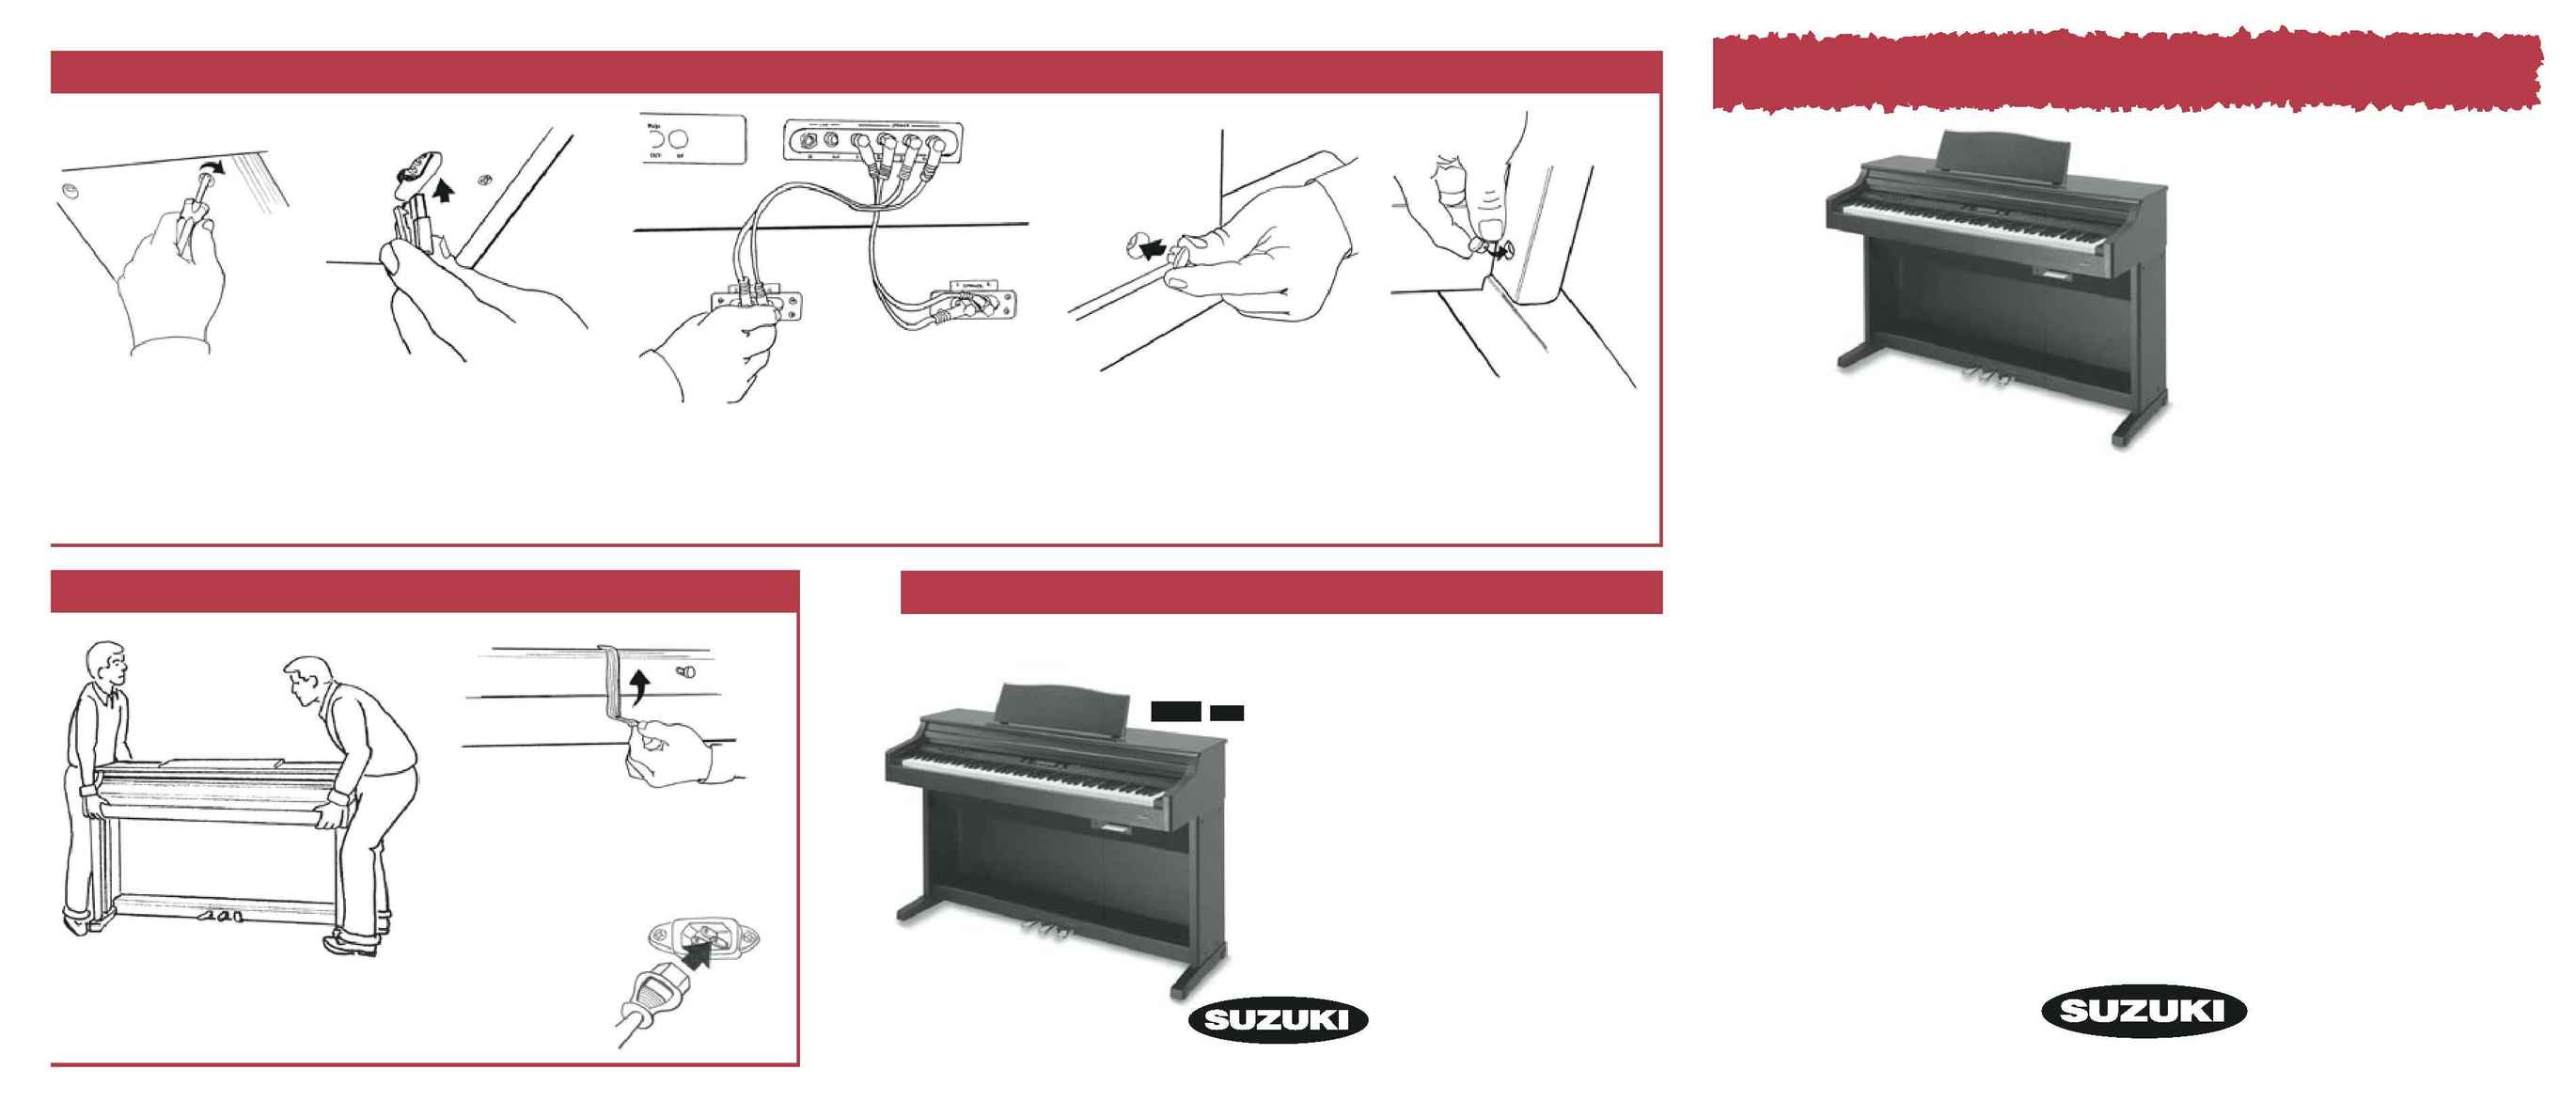
E.
With the piano rods seated in
the cam locks, rotate the cam locks
clockwise 3/4 of a turn.
NOTE:
Do Not over rotate the cam locks. This
will not make the connection any tighter
and may break the cam lock barrel.
F.
Under the right front of
the keyboard locate the pedal
control plug. It is coming out of
the top front of the right stand
leg. Plug it into its receptacle on
the bottom of the piano.
G.
Locate the speaker connection cables. They have red and white
1/4" male plugs. On the back of the piano locate the receptacles
marked speaker 1 2 3 4 and on the back of the stand locate the 2
dual receptacles marked (3 speaker 4) and (1 speaker 2). Using the
connecting cables connect the matching numbers i.e. 1 to 1, 2 to 2,
and so on.
H.
Locate the 8 large cover caps and
push them into the large barrel nut holes
on the outside of the stand legs.
I.
Locate the 4 small cover caps and
push them into the small barrel nut
holes on the inside bottom of the
stand legs.
5. P
LACING
Y
OUR
P
IANO
C.
Plug the power
cord into the rear of
the piano and into
an appropriate wall
receptacle.
A.
Carefully lift and carry your piano to
its place in your home.
